
- 574
- 851
- 93
- Location
- Canton, PA
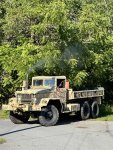
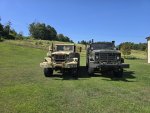
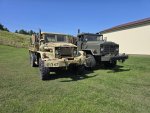
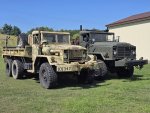
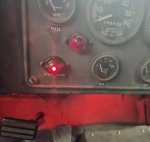
On Saturday I purchased a m54a2. Since I got into the hobby, I have always wanted one after learning about the guntrucks that served in Vietnam. I found one thats unique. The truck I believe started as a m54 or m54a1. The lower headlight position as well as the fenders on the inside of the hood look like this was a gasser in its previous life. My guess is the truck was repowered with the LDS 465-1a. Truck was picked up by previous owner from the forestery department.
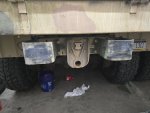
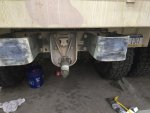
Truck originally had the exhaust dumping out in front of front right tandem according to previous owner when he got it. Truck has a D turbo and a direct drive transmission. The 395s help get some speed but theres loss in torque. Truck runs well but needs some tlc. The plan is to build a guntruck replica using trucks that served in vietnam for ideas. Out of the 6 gun truck books I couldn't find a guntruck with the lower headlight positions.
Ive decided I'm going to name the truck "The Savior". First because Jesus Christ is my Lord and Savior and because these trucks were known as Saviors to those that served. I want to try to keep the heritage alive and felt instead of trying to copy a truck, id do one on how Id want it setup.
Plan is to use 5/16" steel for the gun box. Once the trucks been mechanically gone through I'll focus on cosmetics and then the gunbox.
Attachments
-
 3.3 MB Views: 54
 -
 658.9 KB Views: 61
 -
 5.5 MB Views: 59


")